
Like in my work your way up the squatting scale article, this post is straightforward and easy to understand. In it I will explain…
- How to “level up” your split squats or rear foot elevated split squats (RFESS). By this I mean…
- If you can perform level one easily and correctly, then you are warranted to move on to level two. If you can perform level two easily and correctly, you are given the right to move onto level three etc.
- The most common mistakes I see when it comes to performing any split squat variation.
Level One: Bodyweight Split Squats
Side view
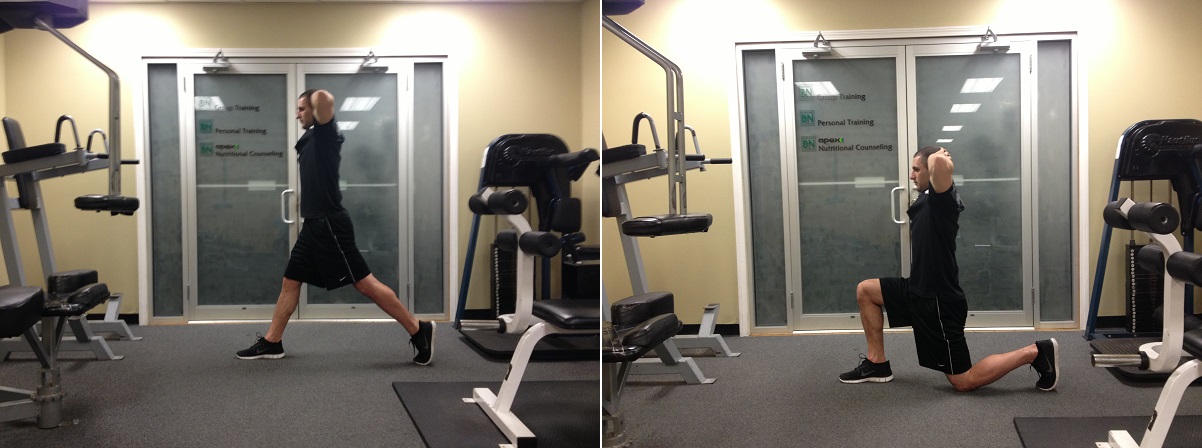
Front view

Level Two: Goblet Split Squats
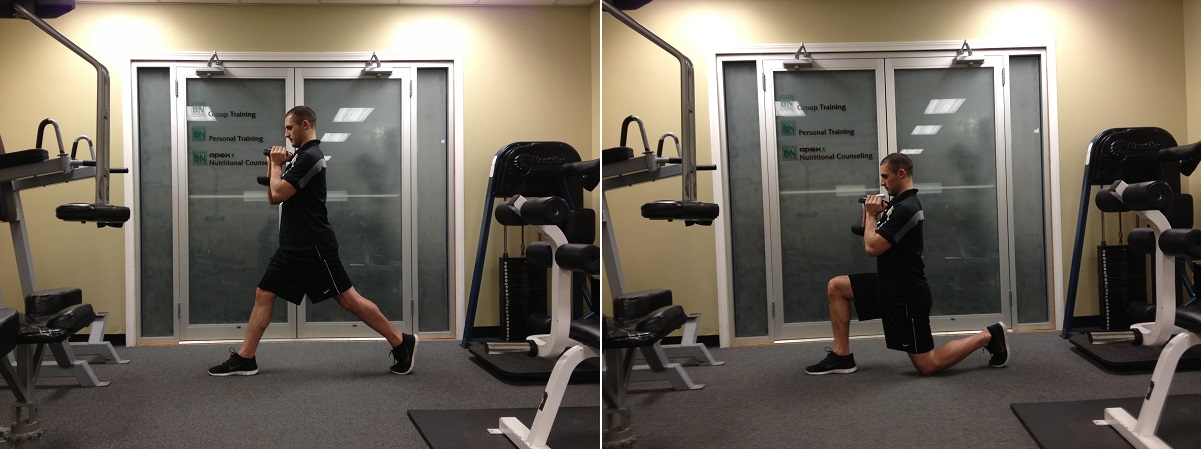
Level Three: Dumbbell Split Squats

Level Four: Barbell Split Squats

Level Five: Front Loaded Barbell Split Squats
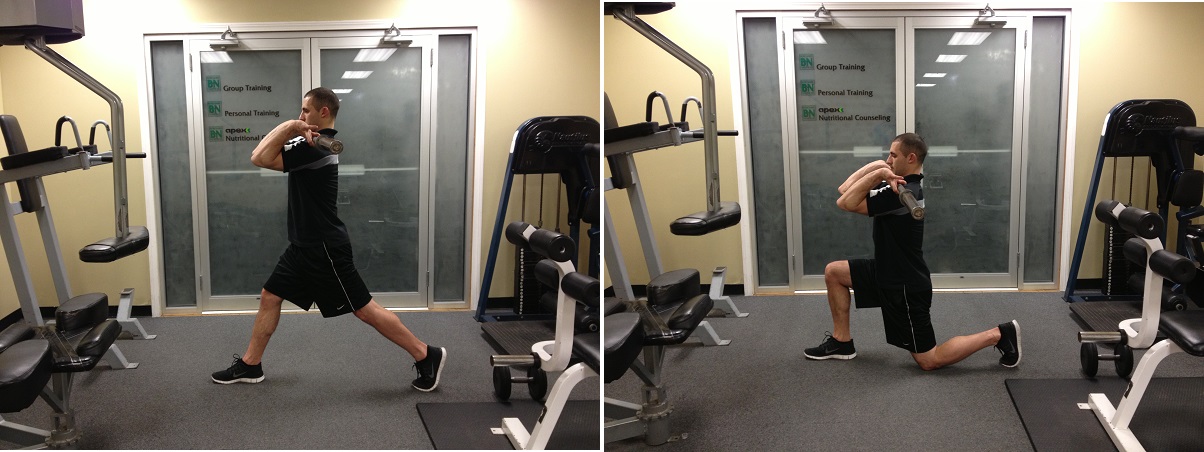
Now that you have all the regular split squat levels covered, I figure I might as well show you those same levels with the rear foot elevated. Let’s hop right into this.
Rear Foot Elevated Split Squat Progression
Level One: Bodyweight Rear Foot Elevated Split Squats (RFESS)
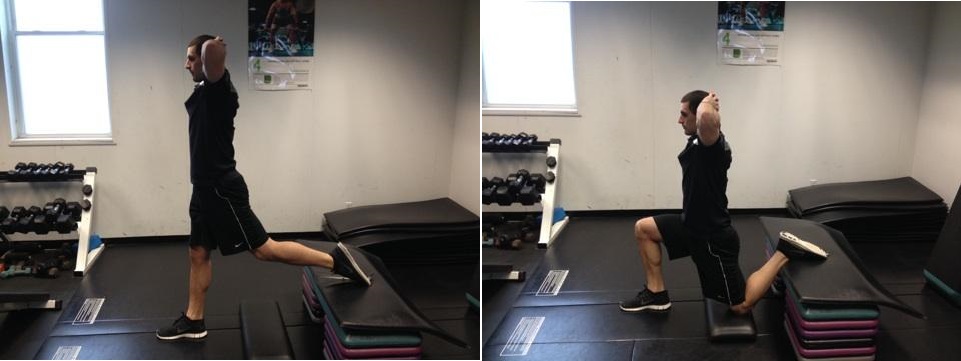
Level Two: Goblet RFESS
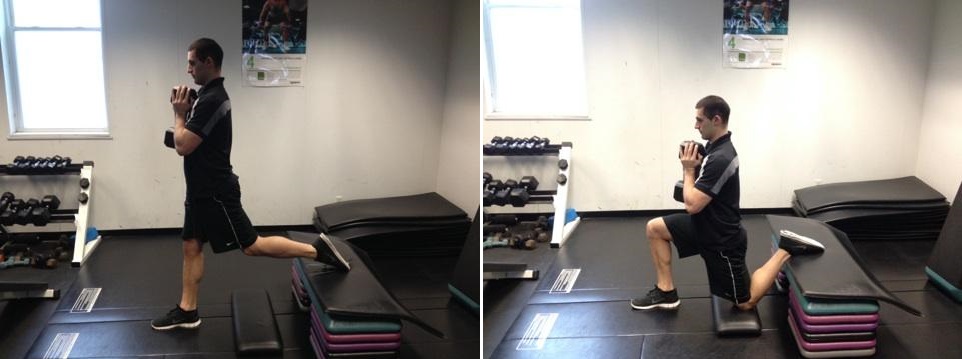
Level Three: Dumbbell RFESS

Level Four: Barbell RFESS
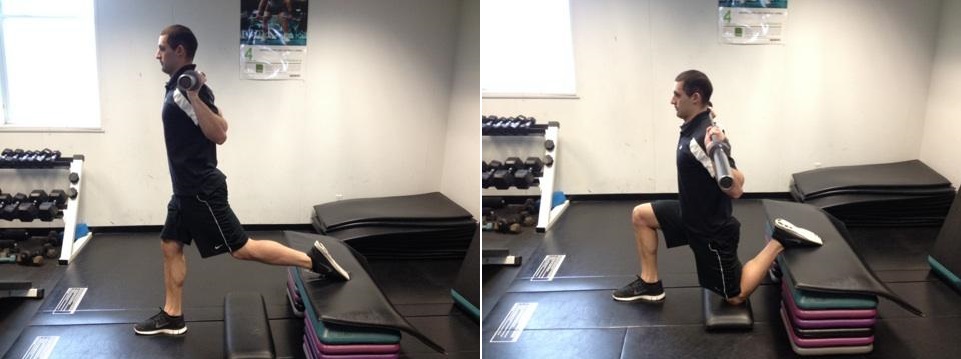
Level Five: Barbell Front Loaded RFESS
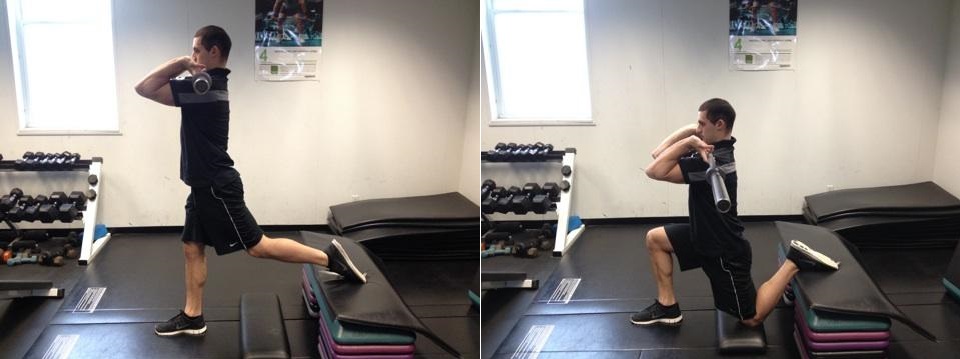
Note: How to fix the mistakes I am about to tell is out of the context of this particular article. I am just making you aware of them in case you notice yourself falling into one of the categories. With that said here are…
Six Extremely Common Split Squat Mistakes
1.) The ribs are extended, or in simple terms the back is arched.
Below is a demonstration of the ribs extended in a standard split squat. If you want to see proper rib and back position, refer to “level one” (the body weight split squat side view) above.
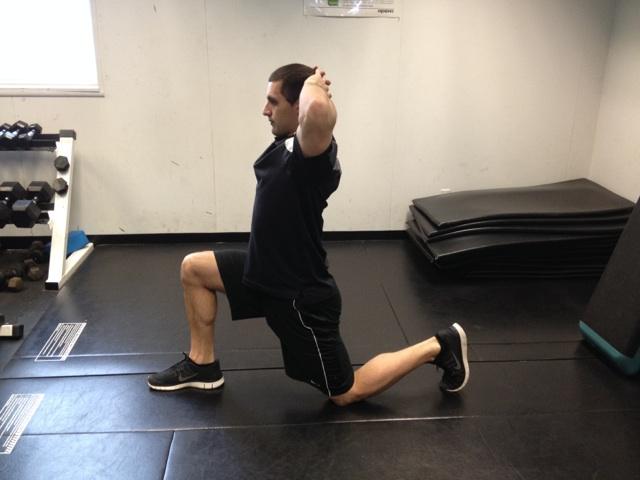
Here is that same mistake with the rear foot elevated.
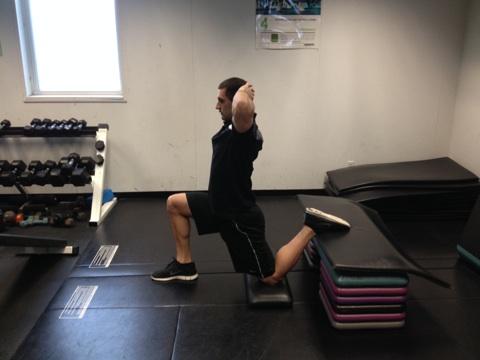
2.) The upper back is rounded, or using proper terminology the thoracic spine is flexed.
Below is a demonstration of the upper back rounding. This is usually accompanied with forward head posture as well.
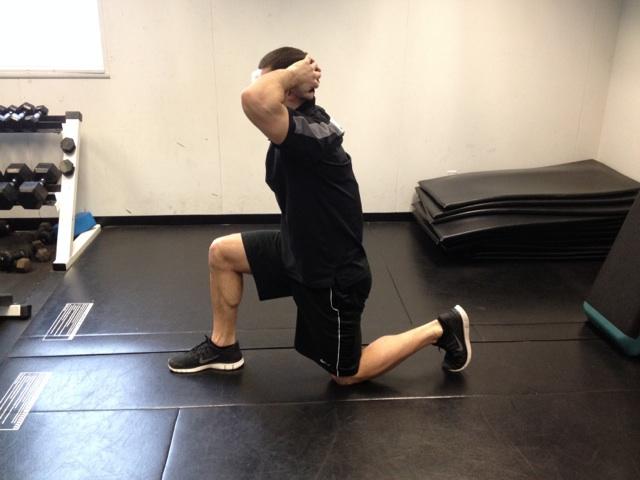
Here is that same mistake with the rear foot elevated.
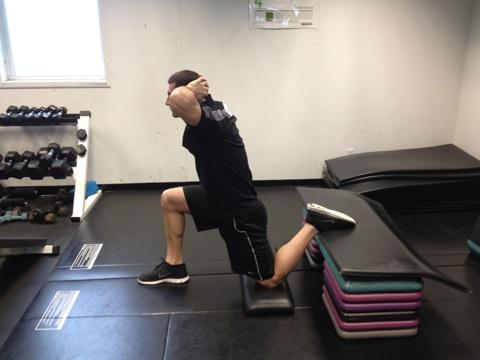
3.) Not using a pad of some sort for the bottom knee, AND OR slamming your knee to the ground and bouncing back up.
Below you will see I am just dropping my knee to the ground without a pad. For obvious reasons, your patella (kneecap) will hate you for that direct trauma over time if it doesn’t immediately.

Here is what that same mistake looks like with the rear foot elevated.
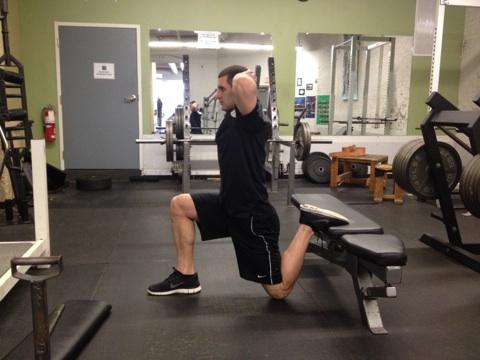
4.) Knee valgus or knees collapsing inward.
Below you will see my knee isn’t in line with my ankle, but instead collapsed inward. If you want to see correct knee alignment, refer to “level one” (the body weight split squat front view) above.
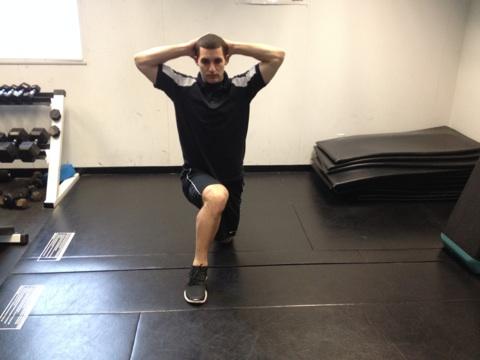
Here is that same mistake with the rear foot elevated.

5.) Using partial range of motion ALL THE TIME.
I’m not saying to never use partial range of motion as part of your program, I just feel you must be able to use full range of motion at whatever “level” you perform FIRST, before you are allowed to use partial at it. This keeps you from “cheating the system” and evenly strong throughout each entire movement.
Here is what partial range of motion would look like with the split squat. You would go down and up without touching the knee…
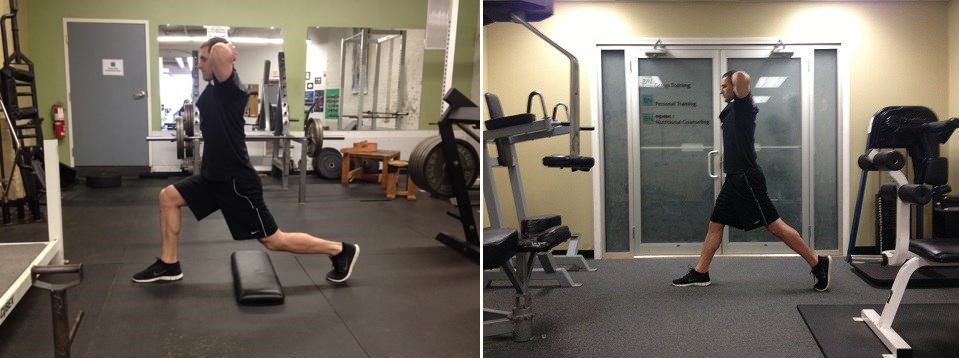
Here is what partial range of motion looks like with the rear foot elevated. Again you are avoiding touching the knee.
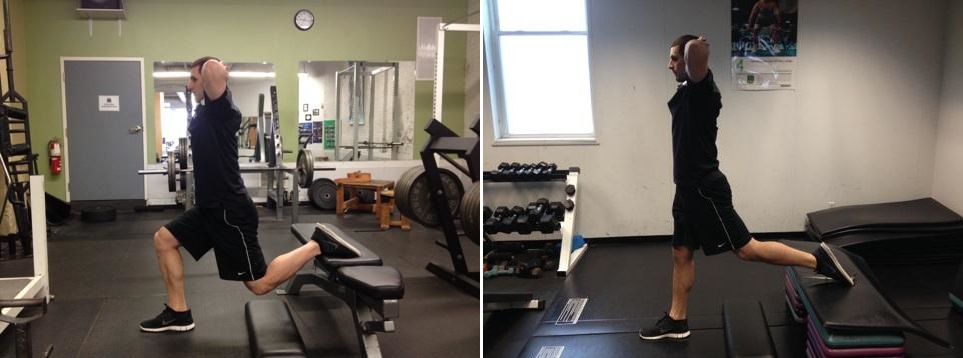
6.) Trying to progress too quickly.
For example, if you cannot perform level one with proper technique do not move onto level two. On the other hand if you can perform level one confidently and correctly move onto level two. Since I didn’t include any more regressions in this post I will give you one more quickly below as a bonus.

You will see in the picture above the weight is assisting you, so the more you use as counterweight the easier the split squat. Only once this is performed properly with good body control you are more than welcome to move onto the next level. A table, pole or anything in front of you or by your side will do.
Even though there are many more split squat variations you can implement and choose from, I included these because you can perform them at almost any training facility you step foot into. Again like in my work your way up the squatting scale article here, I find this to be a very simple logical progression no matter what client I come across. Once you master one level you can move to the next. I also posted this because I want to see more people work their way up the split squat scale safely and effectively. Whether you are an experienced lifter or beginner, rotate each type of split squat to switch up your program and challenge your body with some variability.